Back From Leadership

I am back from Leadership, and I am exhausted!  My return flight landed in Colorado Springs yesterday at approximately 11:30 a.m., I stopped to get lunch on the drive home, and the rest of the day, I was in recuperation mode.  I napped all afternoon.  My husband and I flew to Orland together last Monday and spent a day in Epcot.  I had never been before.  It was fun, but I was a little disappointed in the fact that it appeared to be mostly restaurants and gift shops.  But, we did get to see some of the other attractions like Mission Space, Spaceship Earth, and Soarin’.  We were going to do the design a car thing at Test Track, but it began experiencing technical difficulties as soon as we got into line and it ended up being a longer wait so we skipped that one.

Hubby left Orland on Wednesday morning as my stampin’ friends began to arrive.  Leadership was a whirlwind of activities with many new announcements mostly relating to Stampin’ Up!’s renovation of their compensation plan and events schedule since it is quickly becoming a global company with demonstrators all over the world.

I left Orlando exhausted, excited about all the new changes, and loaded down with a lot of free product from Prize Patrol and give a ways.  I am anxious to get into my stamp room.

Today I am posting the card I made for our team swap along with a gift cardholder I made for my roommates.  A word about the card: the sentiment is done in Early Espresso Embossing Powder.  I used this color because the Soft Sued ink the rest of the card is done in didn’t appear dark enough.  It is stamped on white vellum.  Before I stamped the fern design behind the sentiment, I stamped off once.  I also stamped off once before stamping on the Crushed Curry circle.  Another thing you might want to know is I used Best Year Ever Designer Series Paper and ribbon from the Best Year Ever Accessory Pack which are both in the Sale-a-bration Catalog.  You get 1 item FREE from this catalog for every $50.00 you purchase.    The gift cardholder was cased from one I saw elsewhere, but can’t remember who I should give credit to.  Sorry.   The hearts are embossed on vellum using the Happy Heart Textured Impressions Embossing Folder. Hope you like both.

Leadership Swap


Leadership Roommate Gift - 2

Until next time…

Happy Stamping!

Josie2


Time Flies! Plus a Tutorial

I can’t believe it has been over a month since I was last here to write to you and show you what I’ve been working on.  WOW!  A lot has happened in the last month.  My family was here to visit (Mom, sister, and brother-in-law).  They were here from Ohio for two weeks.  Then I went to convention in Salt Lake City.  Then just four days after getting back from SLC, my husband and I went back Ohio and Pennsylvania where we are both from for two weeks.  We just got back on August 9th.  I spent last week TRYING to get into my stamp room and then finally over the weekend I did.

While we were visiting back east, we had the opportunity to visit Lancaster, PA where my husband is originally from.  I love that part of the country.  It is beautiful and the home to  of what he calls the Pennsylvania Dutch (Amish).   We visited the Lancaster Central Market which celebrated its 200th anniversary this year.  We were fortunate in that it was open when we were there.  It is only open a few days of the week and sometimes when we go back we miss it.   Plus, while we visited his sister, brother-in-law, and brother treated us to a Maryland Blue Crab feast!   OH MY GOD!  I ate sooooo much.  It was delicious.

Also, we managed to get a visit in at the wineries in the Finger Lake Region of New York.  We were in Hammondsport, New York to be exact.  My sister and her husband have been visiting that part of the country for the past 30 years. It is “their” spot, and they were kind enough to show my husband and I around.  It is amazing how many people from this part of the country that have never heard of The Finger Lakes.  Makes me wonder where they were in their social studies class when they were in school.  Maybe because I was born in Pennsylvania and I grew up in Ohio it was just a part of the country that I was inherently familiar with.  🙂  One of the wineries we visited was Bully Hill.  It was my first time there, but I had heard about Bully Hill Winery a bazillion years ago when I took an advertising class at Youngstown State University while working on my undergraduate degree.  My brother-in-law had the same instructor for the same class.  She had us do a full-blown advertising campaign for the Bully Hill Winery as  a class assignment.  He first visited the winery over thirty years ago.  I finally had my chance.  It was fun, and the wine was delicious!   We visited many other wineries and tasted a lot of other wines too.  But Bully Hill has special meaning.

I have a couple of things to share with  you.  The first is a card using a stamp set from the Holiday Mini Catalog which goes on-line next week on August 28.  I can only show you the card.  I got the idea for it from the most recent Stampin’ Success magazine.  It’s a combination of two projects that appear in the magazine.  The name of the stamp set is For All Things.

For All Things - 1I just love the colors I used.  Don’t you?  The colors are Marina Mist, Crushed Curry, Rose Red, and Soft Suede.  I would have never thought myself to put these colors together.

This next card is done using the same colors, but I used the stamp set called Amazing Birthday.  It can be found in the current Annual Catalog.

Amazing Birthday -1

Finally, I want to share the gift I made for my room-mate at convention this year.  I meant to do this a few weeks ago, but you know how that goes.  I’ve included the link for the tutorial to make this box along with links for diagrams for the lid and bottom.  I call this a Convention Survival Kit.


Convention Pillow Gift 1-2014

Convention Pillow Gift 2-2014

Convention Pillow Gift 3-2014

Hope you enjoyed your stop here today.  Until next time…

Happy Stamping!

Josie2


Four Things I Learned in Catholic School

Some would call me fortunate (or maybe unfortunate) that I had the opportunity to attend a Catholic school as a child from grades 1 through 8, and I also taught in a Catholic school for the first 6 years of my teaching career.   I learned many things both as a child and as an adult.  Many of the lessons have served me well in life.  Here are four of the lessons I learned as a student in a Catholic school in the 1960’s and 1970’s.

  1. Never wear black patent leather shoes with a dress.
  2. Never use a white tablecloth when entertaining a male guest.
  3. Take baths and showers with the lights off.
  4. If you sit on a boy’s lap, put a phone book down first.

What??????? You read them right!  I learned these lessons from a Nun.  Please don’t ask me to remember her name.  It was Sister Mary Something …either William, or George, or Grace, or Albert…it was Mary Something.  All the Nuns were Sister Mary Something when I was going to Catholic school.  And, they all wore those black and white habits.  They wore long black dresses with long black veils trimmed in white with nothing but their faces showing and they wore a long black rosary at their waists, like the Nuns in the movie Sister Act. Everything was covered.  As I entered the middle grades, I remember their strict dress code started to become a little less severe, and they no longer covered everything, although some of them probably should have.  They began to wear shorter skirts and their veils were shorter.  Veils were still trimmed in white, but a little of their hair began to show now.

I think I was in the middle grades when I learned these lessons from a Nun…in religion class.  It was either religion class or when we were learning about sex.  In those days, the boys were separated from the girls and the boys learned about boy sex and the girls learned about girl sex, but we never learned about reproduction sex.  Come to think about it, in Catholic school you learn about sex in religion class.

Anyway, let me explain these lessons.  The first, never wear patent leather shoes with a dress because a boy can see the reflection of your underwear in patent leather shoes.  Honest!  You can’t make this stuff up, people.  Well in the 60’s and 70’s girls very seldom wore pants and patent leather shoes were popular, so I often wondered what would happen if I didn’t wear any?  Underwear.

The next lesson, never use a white tablecloth when entertaining a male guest because he might think it is a bed sheet and get the wrong idea.

Lesson number three; take baths and showers with the lights off so you don’t give yourself any ideas.

And finally number four, if you sit on a boys lap, put a phone book down first.  I don’t think I need to explain this one, do I?

So there you have it, four lessons I learned when I was a Catholic school student.  It is senseless to say when I taught in Catholic school, the religion/sex education classes I taught were much different, most Nuns no longer wore their black habits at all, and finally, we had no Sister Mary Anybody because we had no Nuns.  Some things do change for the better!

My project today is a votive candle box.  I needed a small gift for a friend, and I had an unusual amount of votive candles, so I decided to create a small gift box for a few of them.

Votive Candle Box 1

Here is the tutorial for the box.  You can also download a printable version for free here.

Votive Candle Box Tutorial

Supplies:

Paper:  1 piece of card stock measuring 7-7/8” x 9-1/2”; 3 pieces of designer series paper measuring 1-3/4” x 4-7/8”; 2 pieces of designer series paper measuring 1-3/4” x 1-3/4”.

Accessories:  Adhesive, paper snips, scoring tool, paper cutter, bone folder, sticky strip, 1” circle punch, corner rounder punch.
1.  With the long edge of the 7-7/8” x 9-1/2” piece of card stock at the top of your scoring tool, score at 2”, 4”, 6”, and 8” as shown in the template.

2.  Flip the paper so the short edge of the card stock is at the top of your scoring tool and score at 1-3/8” and 6-1/2” as shown in the template.

3.  As shown in the template, cut away portions shaded in gray.

4.  As shown in template, snip score lines as indicated in yellow.

votive candle box diagram

5. Valley- fold all score lines.

Votive Candle Box 2

6. Flip the piece over so that the folds are forming mountains and add adhesive to the second and third end flaps from the right. (See photo).

Votive Candle Box 3

7. Fold in the sides to form the box. (See next two photos.)

Votive Candle Box 4

Votive Candle Box 5

8. Using the 1” circle punch, center it on the front of the box as pictured and punch out a half circle.

Votive Candle Box 6

9.  Using the corner rounder punch, round the two corners of the remaining flap.

Votive Candle Box 7

10.  Close the box by inserting the front flap that you just used the corner rounder punch on and the two triangle shaped flaps on the sides into the box. If the triangle flaps give you any kind of trouble, remove them. They are not necessary.

Votive Candle Box 8

An Important Note:  This box is not designed for standard size votive candles.  The candles I used are Yankee Candles, which are wider at the top than at the bottom.  They are also a little taller.  Three standard size votives will fit into this box, but you will probably want to add a little tissue paper to cushion them.  In addition, six tea lights stacked in sets of two will also fit well into this box.

I sincerely hope you enjoyed your visit here today.  I have been entertaining out-of-town family for the last two weeks, otherwise it wouldn’t have been so long since my last post.  Until next time…

Happy Stamping!

Josie2

Votive Candle Box 9

Votive Candle Box 10

Scallop Tag Topper Punch Treat Holder Tutorial

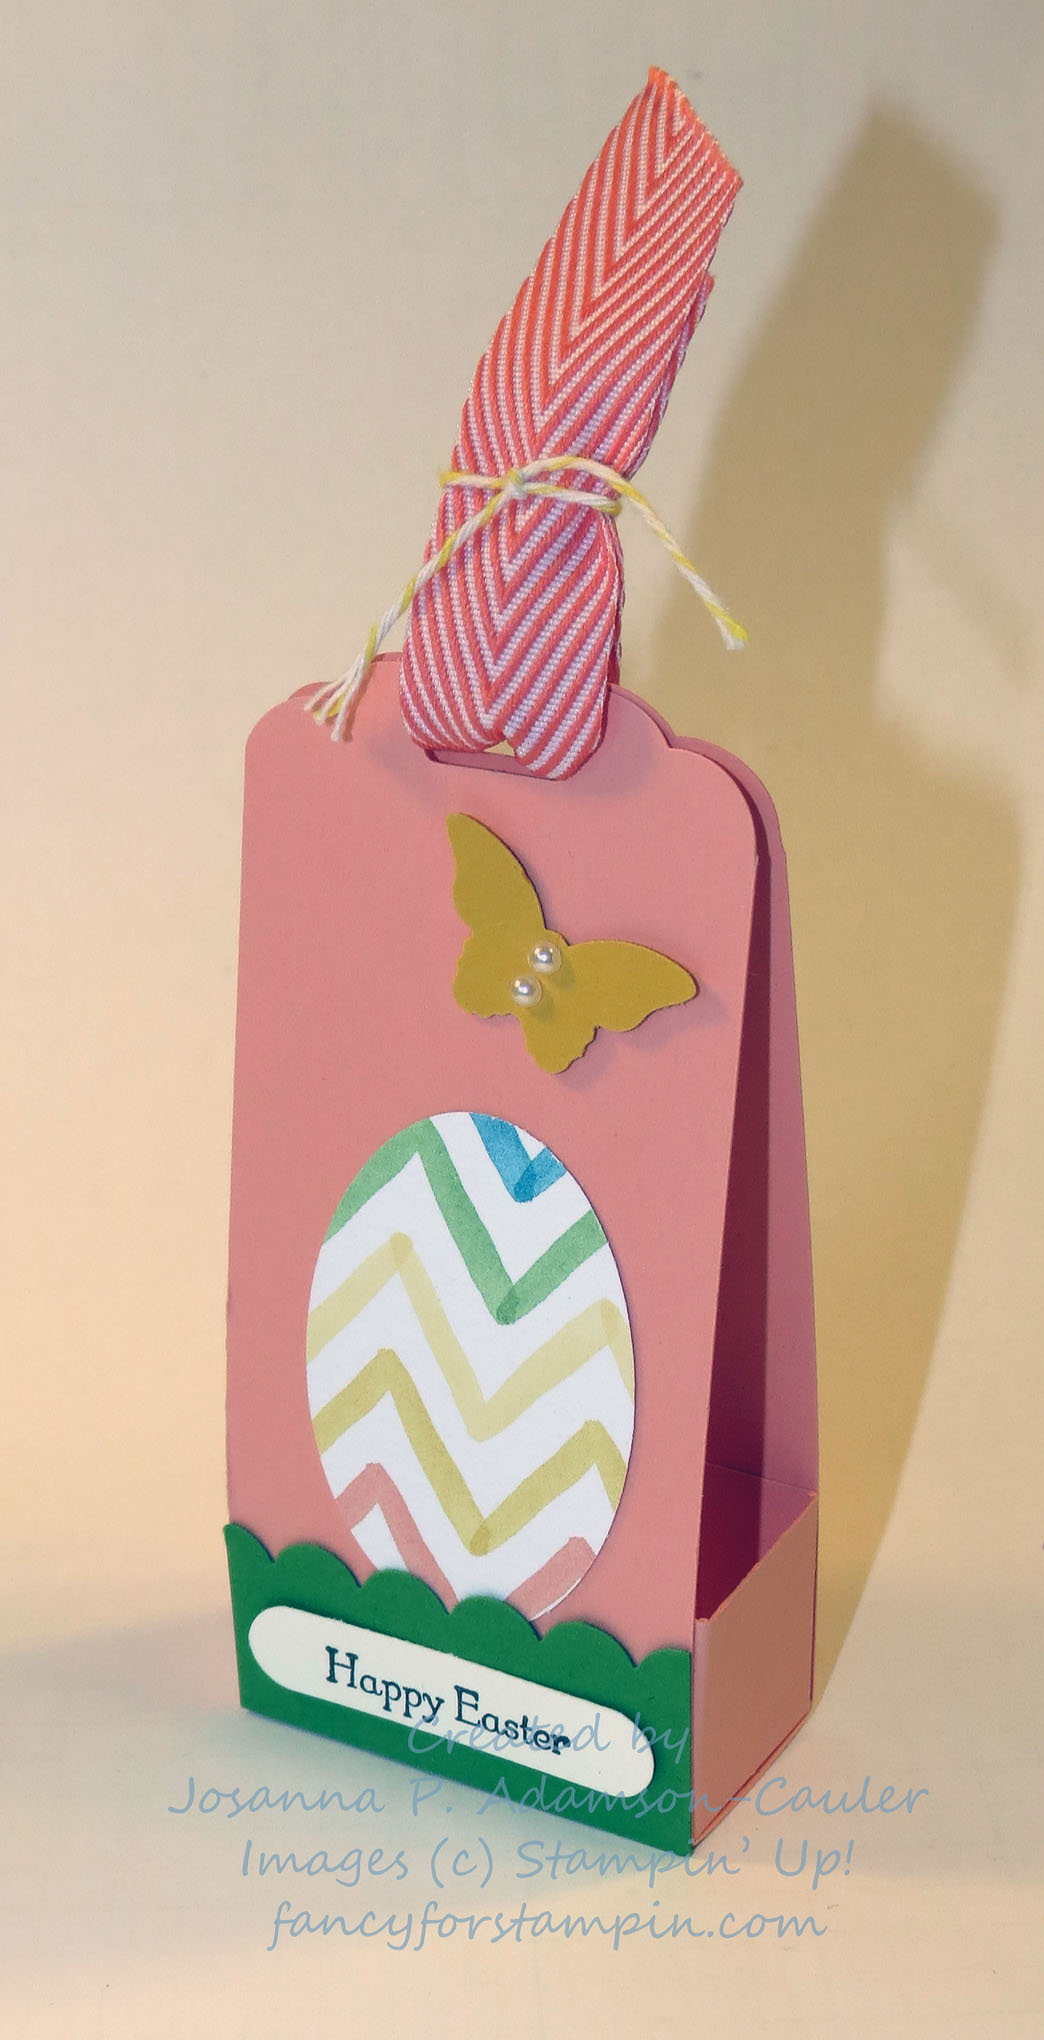
Today’s project is one I did not create. I have been feeling under the weather this week, and I have not been in my stamp room at all.  So I thought I would share a project that was created by a very dear friend of mine, Sharon S.  (I am sure she won’t mind.) I found it on my desk when I arrived at work the Monday after Easter.  It contained a solid chocolate bunny; however, you will notice by the picture the bunny is gone.  I think it disappeared about mid-morning when I needed a chocolate fix.  🙂  I admit, I am a chocolate addict.  If it is near me, it will not last long.  And, I am not happy with one or two pieces.  This little treat holder is adorable, and it is very versatile.  You can make one for just about any occasion.

ss easter treat

Want to make one?  Here’s how…

Step 1:  Cut a piece of card stock to measure 11″ x 2″.  Score it 5″ from either end.  Cut two more smaller pieces that measure 1″ x 2″ and score  each 1/2″ from either end.  See the photo below.

ss easter treat-1

Step 2:  Using the Scalloped Tag Topper Punch, insert each end of the longer piece and punch, then fold on the score lines.

ss easter treat-2

ss easter treat-3

Step 3:  Place a small piece of sticky strip on each end of the smaller pieces that you cut.  These are the sides of your holder that will keep the treat in place.

ss easter treat-4

Step 4:  Attach each side as shown below.

ss easter treat-5

Step 5:  Decorate as you desire!

ss easter treat-6

Until next time…Happy Stamping!

Josie2