Hello Stampers!
No, I have not fallen off the face of the Earth; I am still alive and well! The last few months have been pretty busy as you can imagine. My daughter gave birth three days after my last blog entry and much of my time has been spent admiring her and her partner’s handiwork. Baby Stella is beautiful if you ask me! I am totally in love with her. 🙂 In October my mom, sister and brother-in-law visited to see the baby and just last week I was in Salt Lake City for OnStage 2017. So the last few weeks have been busy.
If you will indulge me for a moment, I want to share a few pictures of the newest edition to my family. Thank you in advance for humoring me. I know all Grandmas think their grandchildren are beautiful and I promise I will not make this a habit. 🙂 These are from earlier this month.


Now on to the real reason why we are here.
I created this mini album awhile ago, but I wanted to make sure I shared it before too much more time passes, because I think something like this would make a really good Christmas gift to someone you love…maybe a new Mom or Grandma! Now you know what I plan on doing with mine. Both videos run a little long, but I think they are well worth the time. I don’t go into details on the decoration of each page, but I have included a photo of each at the end of this post with a description of what I used to decorate it. I hope you like what you see and take the time to make one for yourself. I think it would be well worth your time.
Enjoy the videos, and if you have any questions about anything related to this project, please email me.
Until next time…
Happy Stamping!

These are the front covers of both albums.


This is the inside of the front cover and the pocket on page 1.

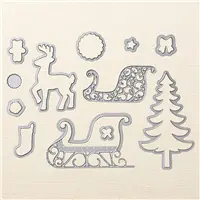
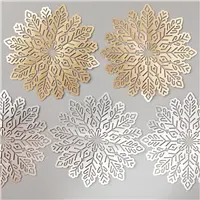
Pages 2 and 3. On the page 3 on the right I cut a reindeer in gold foil and quartered a foil snowflake for each corner.

Pages 4 and 5. I made pockets on each page.

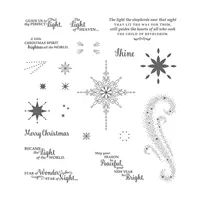
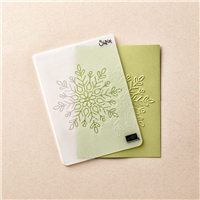
Pages 6 and 7. I used the snowflake dies from the Seasonal Layers Thinlits and the 1/2″ circle punch to make the circles on the right. The left side is a pocket with a half circle notch cut at the top edge using the 1″ circle punch. I also cut a foil snowflake in half and glued it over the pocket and cut the center out with the 1″ circle punch. I used the Winter Wonder and Holly Textured Embossing Folders one each page.

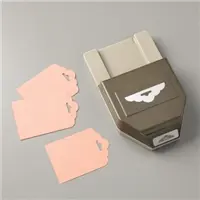
Pages 8 and 9. A small corner pocket and bands to hold photos/mementos.

Pages 10 and 11.

Page 12 and inside of back cover.


Shop On-line 24/7
http://www.fancyforstampin.stampinup.net


You must be logged in to post a comment.