Dandelion Shadow Box Card (also Blossoms in Bloom)

Hi Stampers!

Hope you are all doing well and staying healthy!  There is nothing new here to report other than the gym has opened back up and I went there four times since last week.  I wonder everyday I set foot in there if I am doing the right thing by going.  I don’t want to catch any of this virus stuff!  They are running at I think less than 1/2 capacity.  We have to make a reservation for any class we want to attend and can only make it up to 48 hours in advance.  We are also only allowed 1 hour per visit per day.

My husband and I went out to eat for the first time since February last Friday.  We went to a restaurant where we could eat outside on purpose.  There was definitely MORE than 6 feet of space between the tables, so I felt very safe.  Each time the waitress came to the table we wore our masks.  Trying to be safe and still enjoy life a little.

I’ve been a stamping fool lately.  There isn’t much else to do other than clean and if you put cleaning and stamping in front of me, stamping will win every time. 🙂


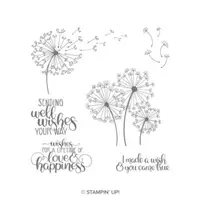
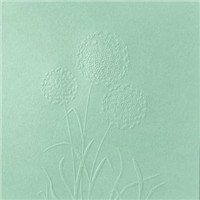
As I mention in the video, I started out wanting to make a shadow box card. My initial thought was to use the Blossoms in Bloom stamp set and Many Layered Blossoms dies, but I ended up creating a shadow box card out of one of my monthly club cards.  For the card I am featuring today,  I used the Sweet Silhouettes Dies, Subtle 3D Embossing Folder and Dandelions 3D Embossing Folder along with a sentiment and image from Dandelion Wishes stamp set. I love dandelions and I think the embossing folder and stamp set go very well together.   I will give you the dimensions of the card stock pieces and colors used for the two initial cards I was going to make.  The video will give you all the information you will need for the Dandelion Shadow Box card.  The first supply list at the end of the post contains all the things you will need to create the Dandelion card.  The second supply list will be preceded by the card stock dimensions for the other two cards.

If you watch the video, you will notice I didn’t decorate the inside front cover of the card.  This is a photo of how I decided to quickly cover up that seam the card base creates.


Do you want to make this card? Just click on the images in the showcase to add the items to your shopping cart or click the button at the bottom of each showcase to add everything into your cart.

Enjoy the video!


This is what you need for the dandelion card.

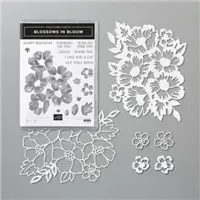
Dimensions for the Blossoms in Bloom cards are as follows:
  • For card base you need two pieces of the same color card stock that measure 5 1/2″ x 11″, and 5 1/2″ x 4″
  • Inside the card you need two pieces of the same color that measure 5 1/4″ x 3 1/4″
  • Front of the card you need 2 pieces of the same color.  One piece is 2 1/4″ x 5 1/4″ and one piece that measures 4 3/4″ x 3 3/8″
  • Also on the front a piece of Whisper White 2 3/4″ x 4″
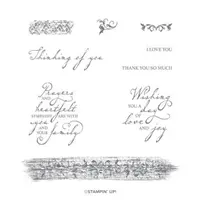
This is what you need for the other two cards.

Order Online 24/7

http://www.fancyforstampin.stampinup.net


Summer Beach Coasters

Hello Everyone!

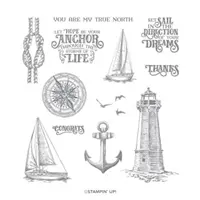
I’m back with a video tutorial this month after taking last month off.  This video is very short and sweet, but I think you are going to like what you see.  This month we are using the Sailing Home stamp set and we are making coasters for you to use while you are sitting out on your patio or deck, whatever you may call it, or as you lounge along side your backyard pool. Back yard pools are not a thing here in Colorado.  We are more of a hot tub state, so in my case I would sit under the awning on my patio, next to the hot tub having a cool drink while I look up at the stars on a warm summer night and dream about being near the beach.
Being near the beach again is not going to be in the near future since my daughter moved back to Colorado at the end of February.  I do have a trip planned for a visit back to Virginia Beach for the beginning of August, but I don’t think we are going to make it this year.  I believe the resorts in Virginia are still closed and even if they weren’t I’m not sure I want to take that risk with the virus still around. But I have a pretty good imagination and with a glass of wine after dinner, I’ll sit by my hot tub this summer and dream about the beach as I use my summer beach coasters.

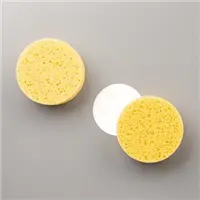
Some of the things you will need are sandstone coasters with cork backing, painter’s tape and permanent waterproof ink.  The remainder of the items are listed at the bottom of this post.  I hope you enjoy the video.

Until next time…

Happy Stamping!


Valentine Pop-Up Card Video, Etc.

Hello Everyone!

I’m back after another short break, but it is my goal this year to provide you with a video tutorial each month. It’s one of the things I’ve set out to do. And, if there isn’t one each month, then by the end of this year, by golly, there will be 12. Some months just might have two, especially if I skip a month. Sometimes time just gets away from me.

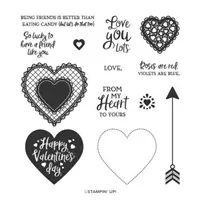
My original intent was to start the year with a tutorial using different stamp sets, but I decided since it is so late in the month, I might as well start by celebrating Valentine’s Day. I’m presenting to you a video that I have done in which I create a Valentine Pop-Up card I’ve designed.  So I’ll show you two cards in the video and I will provide you with a list a supplies for both cards at the end of this post; however, I will only decorate the Valentine card in the video.  The second card is self explanatory as far as decorating is concerned. So is the Valentine  card, but I know that beginning stampers like to see things done, and that is completely understandable.  If I chose to decorate both cards in the video it would just be way too long.  I don’t want to put anyone to sleep.  You can use the basic pop-up card for any occasion.  Have fun decorating it any way you want.

I apologize in advance for some of the bloopers in the video.  I am way out of practice, which is another sign that I need to do this more often.  Also, if anything could go wrong while making this video, IT. DID.! From running out of disk space on my camera, to a camera battery dying in the middle of filming, to my phone ringing…to sloppy stamping…you name it and it happened. 🙂  I also had to drag out my old, slow laptop to edit the film, because I didn’t realize windows no longer provides downloads for Movie Maker for Windows 10.  So in the process, I thought I’d learn a new movie maker software, but realized very late last night that wasn’t going to happen!

Here are photos of the Valentine Pop-Up!


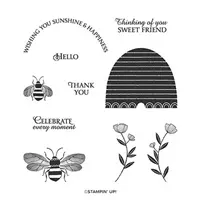
And this one I call Painted Poppies Honey Bee Pop-Up!


So here you go with the video.  Let me know if you have questions.  Also, the link for the printed tutorial on how to make the pop-up mechanism for the inside of the card can be found here.


Thank you for stopping by here today.

Until next time…

Happy Stamping!


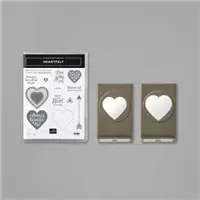
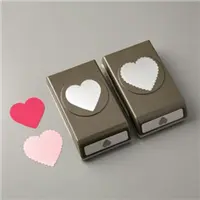
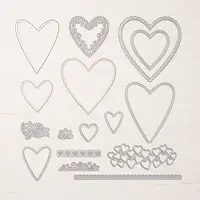
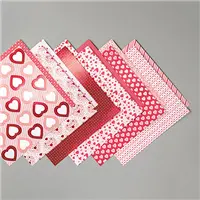
Here is the supply list for the Valentine card.

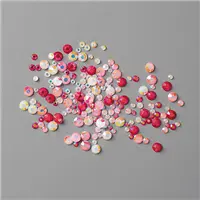
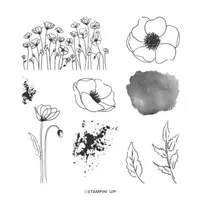
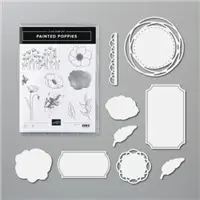
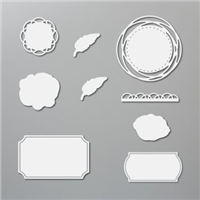
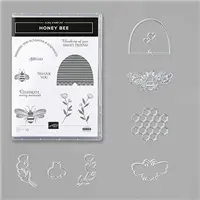
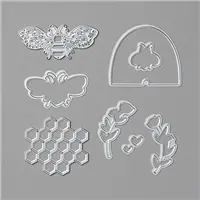
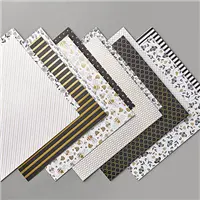
Here is the supply list for the Painted Poppies Honey Bee Pop-Up