Hi Stampers!
Hope everyone is doing well, and everyone had a nice Thanksgiving!
I’ve been busy crafting up a storm lately making a lot of different Christmas decorations using the Night Divine suite from Stampin’ Up! and vintage-style Christmas ornaments that I’ve found at local thrift stores. Today I want to share my projects with you.
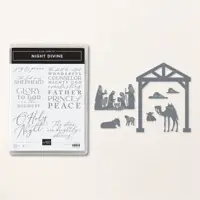
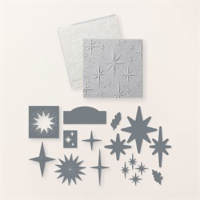
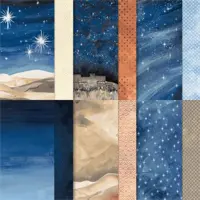
This first one is the nativity scene in a white 8″ x 8″ shadow box frame. I used a piece of O Holy Night DSP for the background and cut out all the figures in the Night Divine dies using Basic White cardstock. The star is cut in basic white as well using the Stars at Night dies. I used a retired die for the hills. Any one you might have would work if you want to recreate this scene, or you could just tear the paper and layer it to make hills. If you are interested in either of these sets, you better order soon as they ARE retiring.

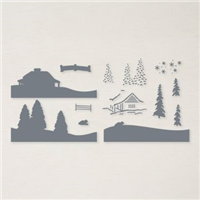
The next item is an expanded view of the nativity using the Stars at Night and Night Divine dies along with O Holy Night dsp. The frame measures 18″ x 10″. I confiscated it from my daughter awhile ago as she was moving and was going to throw it out. It’s been sitting in my closet for quite some time and I thought it would be perfect to do this with it. Of course I had to piece the background paper together, so I matched two sheets of the dsp as well as I could and then used tear and tape to stick them together. The colors I used in this scene are Very Vanilla, Basic Black, Copper Clay and Pebbbled Path. The palm branches and palm trees are from a retired set.

And finally, the last item I’ve been working on are these vintage-like Christmas ornaments, most which I found at local thrift stores. The only ornament that is truly vintage is the red tree-top finial on the right. It belonged to my grandparents and has been hidden away in a box of many of their vintage ornaments that I inherited. I haven’t got the heart to do this with their ornaments, so thrift store ornaments work just fine. The candle sticks are from the thrift store as well. The three tiered candelabra is definitely vintage and similar to a set that I inherited as well. I can see me making more of these and displaying them year round on a mantle or a shelf. I used E6000 glue to attach the ornaments to the candle sticks.

This is what I’ve done with the majority of my grandparents’ ornaments.


This was a short post, but I hope you enjoyed your visit. If you have questions about any of these “creations” please feel free to email me and I will do my best to answer them. Until next time…
Happy Stamping!


Shop OnLine 24/7
https://fancyforstampin.stampinup.net/


You must be logged in to post a comment.