Hey Everyone!
I know, I’ve been gone awhile again. I had some major dental work done a little over a week ago and I was totally out of it all week. I had two teeth removed for future dental implants on one side of my mouth, and root scaling and planning done on one tooth on both the top and bottom of the other side of my mouth. I thought I was being smart by getting it all done at once, but it made it nearly impossible to eat. I must say, I have lost two whole pounds since the procedure, but I am positive it will come back once I visit my dentist for my one week post op check up tomorrow and he removes what is left of the stitches. Then I can get back to regular eating. 🙂
To make it up to you, I have multiple cards to share with you today. And I also promise a video later this month on a neat water coloring technique I learned and just can’t seem to get enough of. My water coloring with an aqua painter always turned into a big black mess until my up-line told me about this trick! I’ve been on a water coloring frenzy ever since, and no I will not tell you what it is until the video. You will just have to be patient.
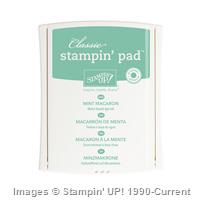
My first card was for my son who turned 30 years old last Thursday. I very lightly water colored the background in Mint Macaroon ink using an aqua painter. I think it gives the sky on the background on the card a little extra than just stamped clouds.

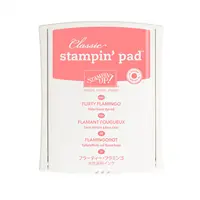
Here is my second card. I was inspired by a card on Pintrist for this one. The entire balloon is water colored along with some of the background. I used Aqua Painters and Mint Macaron, Peekaboo Peach, and Flirty Flamingo on the balloon. The balloon is cut from Water Color Paper. I’m just thrilled with how this one turned out!

These last two cards are very similar, which just goes to show you don’t have to have a zillion lay outs for a every card you might want to create. Both backgrounds are water colored darkest to lightest.
The background colors in this card are done with Aqua Painters and Dapper Denim, Mint Macaron, and Pool Party ink. I used the Water Color Pencils and Blender Pens for the flower which was stamped in Basic Black Archival Ink.

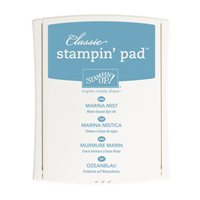
The background colors in this “Thanks” card are done with the Aqua Painters and Marina Mist, Pool Party, and Soft Sky ink. I used the Water Color Pencils and Blender Pens to do the flowers.

This is my final card.

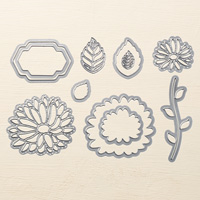
Unfortunately the Glimmer Paper was a Sale-a-bration item and is no longer available. But, I think this card would be just a pretty if you cut the flowers from regular card stock in these colors. I used the Layering Squares Framelits to create a frame for the flowers.
The supply list I’ve provided is pretty lengthy. If I’ve forgotten anything, please let me know. Remember you don’t have to buy everything all at once. You can choose the colors you like best and repeat using them in each of the cards. Each card would look beautiful in any color combination. I would however recommend using our Water Color Paper if you plan on giving any of them a try.
I know there was a lot here today, but I feel I’ve been way too absent lately and you deserved to be compensated. 🙂
Until next time…
Happy Stamping!


You must be logged in to post a comment.